Rather than jumping in headfirst and running amok in the cupboards with mobile apps and barcode scanning. I thought it was probably better to get the basics of Grocy sorted out, adding extra functionalities once the groundwork was laid.
To start with I chose a single barcoded product that is either entirely unused or used, depending on whether beans on toast are on the menu.

The menu options on the left are broken down into four groups; a Stock overview and Shopping list, which are concerned with what is and what should be in the cupboards; Recipes and Meal plan, to organise your food planning; Purchase, Consume, Transfer and Inventory, which are the basic operations used to manage stock levels; and Manage master data, which is a group of data table entry functions that are used to set up Grocy to organise your food stocks.
Our first task, then, was to get baked beans added to the list of products that Grocy is managing. To do this I opened Manage master data > Products and clicked Add (circled).

There are thirty fields to complete in the Create product dialogue. I feel a long post coming into view…
However, only six are mandatory; Name, Default location, Quantity unit stock, Default quantity unit purchase, Default quantity unit consume and Quantity unit. Of these six fields, only Name can be completed freeform, as the rest are defined items that have to be set up in different data tables, those being Locations and Quantity units.
So we needed to sidestep over to Manage master data > Locations.

Here I found that Fridge had already been set up as a location. Clicking Add (circled) opened the Create location dialogue.

Not so many fields to complete this time. Where are the baked beans stored? In the cupboard. So completing Name is easy (let's pretend I only have one). The description box is free text (I put a web address in just to see how it would react, but they aren't live). The tickbox for Active is, I assume, for whether the location is currently in use or not and Is freezer defines whether the location is at -20oC or not. Not sure why fridge (ie 4oC) isn't an option as well, but as we won't be using this at the moment we can ignore it. Click Save and Cupboard appears on the list of Locations (circled).

There are other actions on this page that could performed, such as removing Fridge. But we can circle back to that later if it looks like the program is going to fulfil our minimum requirements.
Next we need to set up a Quantity unit for the beans. Again there are a couple of prefilled units.

Baked beans come in tins, obviously. So we can use that as the unit and complete Name in singular and plural forms. I don't really think we need to give a description in this case.

Now we can click Save & continue.
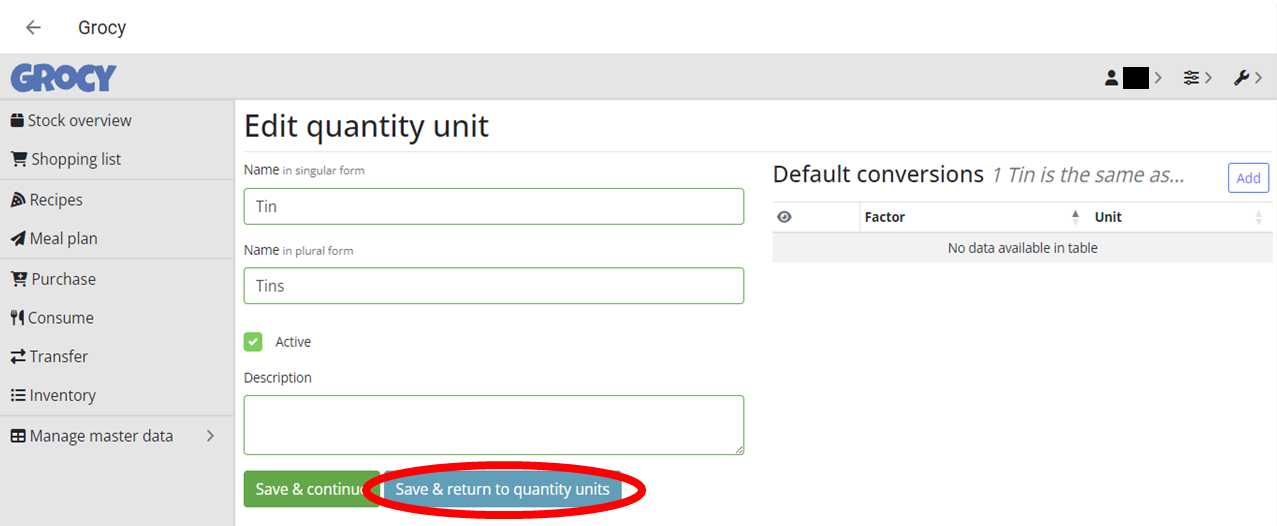
The next page allows us to enter Default conversions. Again not necessary for us yet, but I imagine this may come into play if you are using a recipe that calls for, say, 100 mL of milk and you are buying/tracking your milk in pints. So let's Save & return to quantity units and move along (Save & continue just returns you to the same page).

Now tins are a thing and we have a cupboard to put them in we can return to the Products page of Manage master data, go back to Add again and make a start on our 30 fields.

As noted, the Name of the product can be simply typed in and a Picture file selected to represent it (not sure what image formats Grocy will accept, but .png, .gif and .jpg are definitely OK). We want the product to be Active so can leave that tickbox checked. I was not sure about Parent product, but it looks like a barcode field, so we'll leave this blank and save it for later.
The Description box allows for quite a lot of different inputs (text, images/videos, embedded links and tables) and formatting to be applied. Certainly a lot more than needed in order to run a simple test, so I'll just leave a basic info statement.
The Default location is where the product is usually stored (and used for pre-filling the Location field in other parts of the program) and the Default consume location is where you want the item taken from in case you have beans squirreled away in more than one storage Location. In our case we only have one cupboard so can leave it blank.
Finally Move on open gives a choice of moving an item from one location to another, eg if you buy four-packs of beans and store them in a cellar, once you open a pack they can all be moved to your cupboard; again not necessary for our simple test. That's the first eight fields dealt with.

Default store is the shop (a localisation fail here - since sorted out) that you usually buy the product from. We haven't set up any Shops Stores yet so can't add anything into this field. Minimum stock amount is how few tins of beans you need to have on hand at any time (a couple in our case). Accumulate sub products min. stock amount tells Grocy whether to count those individual tins of beans in your four pack so it can add another four pack to your shopping list if you get down to two tins, we aren't going there so it can be left blank.
Treat opened as out of stock will, if checked, remove an item from stock if you open it. As our beans are single-use we leave this checked. Due date type is self-explanatory and our beans come with a best before end of date stamped on the bottom of the tin.
The four Default due days fields are a little difficult to understand but appear to be a set of timings that can be applied under different circumstances as perishable food is opened, frozen, etc. Beans are pretty stable so we can ignore all four fields I think.
Next, beans Should not be frozen, tick. Product group seems to be associated with where they can be found in the shop you are buying them from, eg dairy, bakery, etc. As we haven't previously specified any Product groups we can't add anything to this field either.
We've already covered Quantity unit stock, beans come in tins. Once chosen this will prefill Default quantity unit purchase, Default quantity unit consume and Quantity unit for prices fields.

Onto the final fields. Enable tare weight handling is for items you part-use and want to track the remaining quantity of by weight, this will only become important if we get past barcode scanning and is not relevant to beans, so was left unticked. Disable stock fulfilment checking for this ingredient is a field used by the Recipes feature, whereby, when you select a recipe Grocy will check your cupboards to ensure that you have the required quantity of ingredients; we can ignore this.
Energy is for calorie counting purposes; not required so leave set at zero. Quick consume amount and Quick open amount can also be left at one as we have decreed that tins of beans are either unopened or eaten. The last two fields, Never show on stock overview and Disable own stock, are mostly for the purpose of dealing with multi-packs; again we can leave them untouched.
Finally Save & continue (circled) brings us to entering data for Barcodes and Product specific QU conversions. Barcodes are for a later date and as we are single-use we don't need to interconvert between quantity units (QU).

And that's it (hopefully). Save & return to products (circled) shows that beans are on the menu, well in the cupboard.

Clicking on a product's Name gives an overview of usage of the product.

Now we have our Product set up, the next task is to go shopping and for this we'll need to set up a Shop Store via Manage master data > Stores.

Only three fields this time, Name, Active and Description (cf Location and QU above). I thought that there might be more to the description field, as you might want to put in locations, opening times, etc.

At this point we move from setting up Grocy for operation to actual activities.
First off we need to buy some beans, so onto the Purchase action.

Scan mode off as we are not tangling with barcodes just yet. The drop-down for Product has only one choice Heinz Baked Beanz and we are going to buy 4 tins with a Due date well into the future (actually a best before date - not sure why it doesn't use the terminology you set in the product file). We could also check Never overdue for unexpirable food but this isn't important. The Price is £1.40 per tin from Tesco (Store) and they are going into the Cupboard (Location). Click OK to finish.

Grocy gives you a confirmation in the top right of the window and it is done. A significantly easier process than setting up the product.
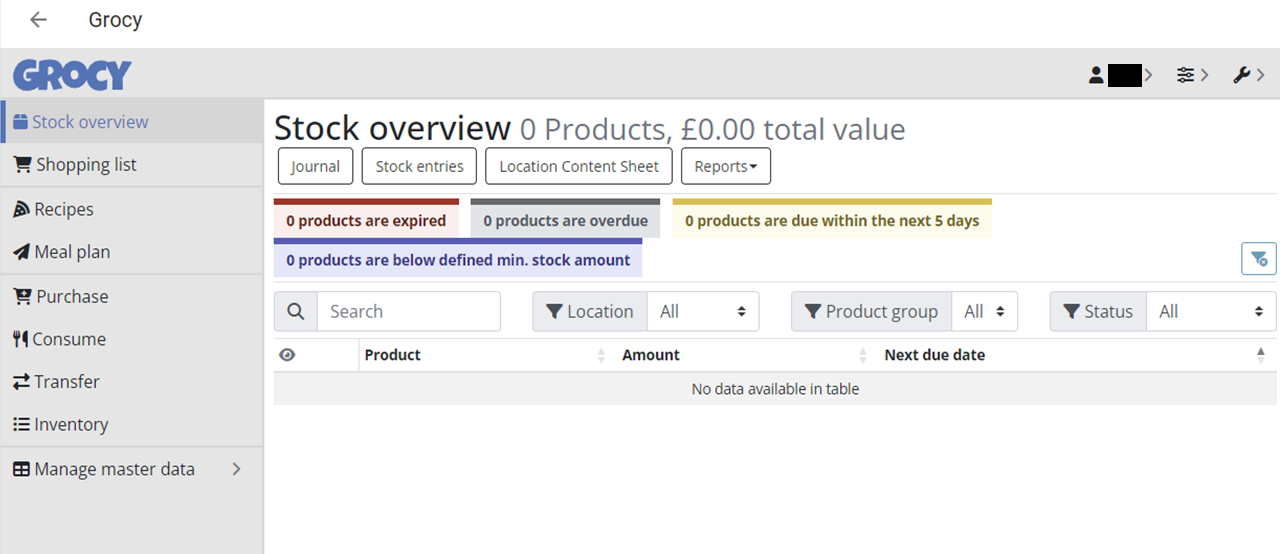
Now we can see that there are beans on the Stock overview.

As we have some beans now we can eat them. Let's have a tin of beans for lunch. On to Consume.

Select beans from the Product dropdown and it will autofill 1 into Amount, tin into Quantity unit and Cupboard as Location (ie the default values specified in Create product). If they had been Spoiled they can be removed as such and will go towards the spoilage rate for the product; not a problem in this case, leave unchecked. The next field, Use a specific stock item, allows you to use items from a specific purchase lot (or prepped batch) of food. On the drop down you can see our single purchase of beans. Although this is more useful for perishable goods you may still want to use that old tin of beans before it goes out of date. Individual batch tracking is quite a nice feature, but not required for our current testing purposes, so we can leave it unchecked. We're also not tangling with Recipe (hidden under purchase lot details field) yet so that can also be ignored.
OK gives you a notification that you have used up a tin of beans.

And our Stock overview is now updated to reflect that fact.

So that's the basics working, we can set up products, locations, shops and quantities and can purchase and consume products. All the basic functions are, well, functional and that is great, but everything has to be done via my PC and who wants to be constantly shuttling between kitchen and PC to keep their records updated. The next task, therefore, is to get mobile and sort out access via a smartphone or tablet.
Comments
Post a Comment